Homepage Content
The following steps can be done by going to Content › Homepage in your eCom back office.
Creating the Homepage Content
To create the homepage content, go to Content › Homepage in your eCom back office. Be sure the Visibility setting is turned on, and use the text editor to create the content, using images, headings and text.
There is no limit to what content can be included here, although consider that the more text and images you use, the more the following sections will be pushed down on the homepage. We recommend keeping it simple.
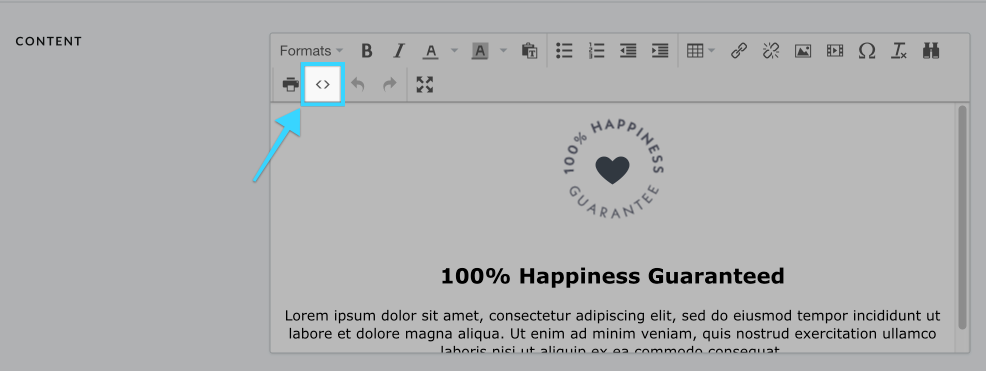 To get you started, feel free to copy the HTML below and paste it in the source code editor (see screenshot above to toggle the code editor).
- <p style="text-align: center;"><img style="display: inline-block; margin-bottom: 20px;" src="YOUR IMAGE FILE URL" alt="" /></p>
- <h2 style="text-align: center;">100% Happiness Guaranteed</h2>
- <p style="text-align: center;">Lorem ipsum dolor sit amet, consectetur adipiscing elit, sed do eiusmod tempor incididunt ut labore et dolore magna aliqua. Ut enim ad minim veniam, quis nostrud exercitation ullamco laboris nisi ut aliquip ex ea commodo consequat.</p>
To add your own image or icon, upload the image by going to Tools › Files in your eCom back office. Then copy the URL of the image and paste that in between the “” in the a tags.
- <a href="IMAGE FILE URL HERE"></a>
Activating the Homepage Content
Displaying this content is done in two places.
- Be sure that the Homepage page is set to be visible (this can be changed by going to Content › Homepage)
- Select the Content option for any of the homepage sections (this is done by going to Design › Edit Theme › Pages › Home Page › Home Content Order)